


Like baking a decadent dessert, the order that you apply your makeup can make the difference between a fluffy cake and a flat mess. The big difference in application order depends on your skin type. Read on for the right order to apply makeup, and common mistakes to avoid along the way for a beautiful cake every time.
For Dry Skin
Have dry skin? Make sure you moisturize before using ultra-mattifying products like primers.
- Step 1: After washing your face and applying your daily moisturizer, massage one to three drops of our 5-star rated Wake & Bake Hydrating Face Oil onto your face, paying special attention to any dry patches. This antioxidant-rich, hydrating face oil will protect and nourish your skin, while serving up a beautiful and natural glow. Wait a few minutes for the oil to absorb into your skin before applying foundation.
- Step 2: Once the oil has absorbed, you’re ready for foundation and concealer. For lighter makeup days, skip the foundation and spot-correct with Cake Face Concealer under your eyes, and on any blemishes, scars, or hyperpigmentation. Avoid using concealer on dry or flaky skin, since it could dry out skin more.
- Step 3: For full makeup days, apply foundation first and then spot correct with concealer. The key here is to make sure you’re using a moisturizing foundation! You can blend with your fingers or use a beauty sponge or brush.
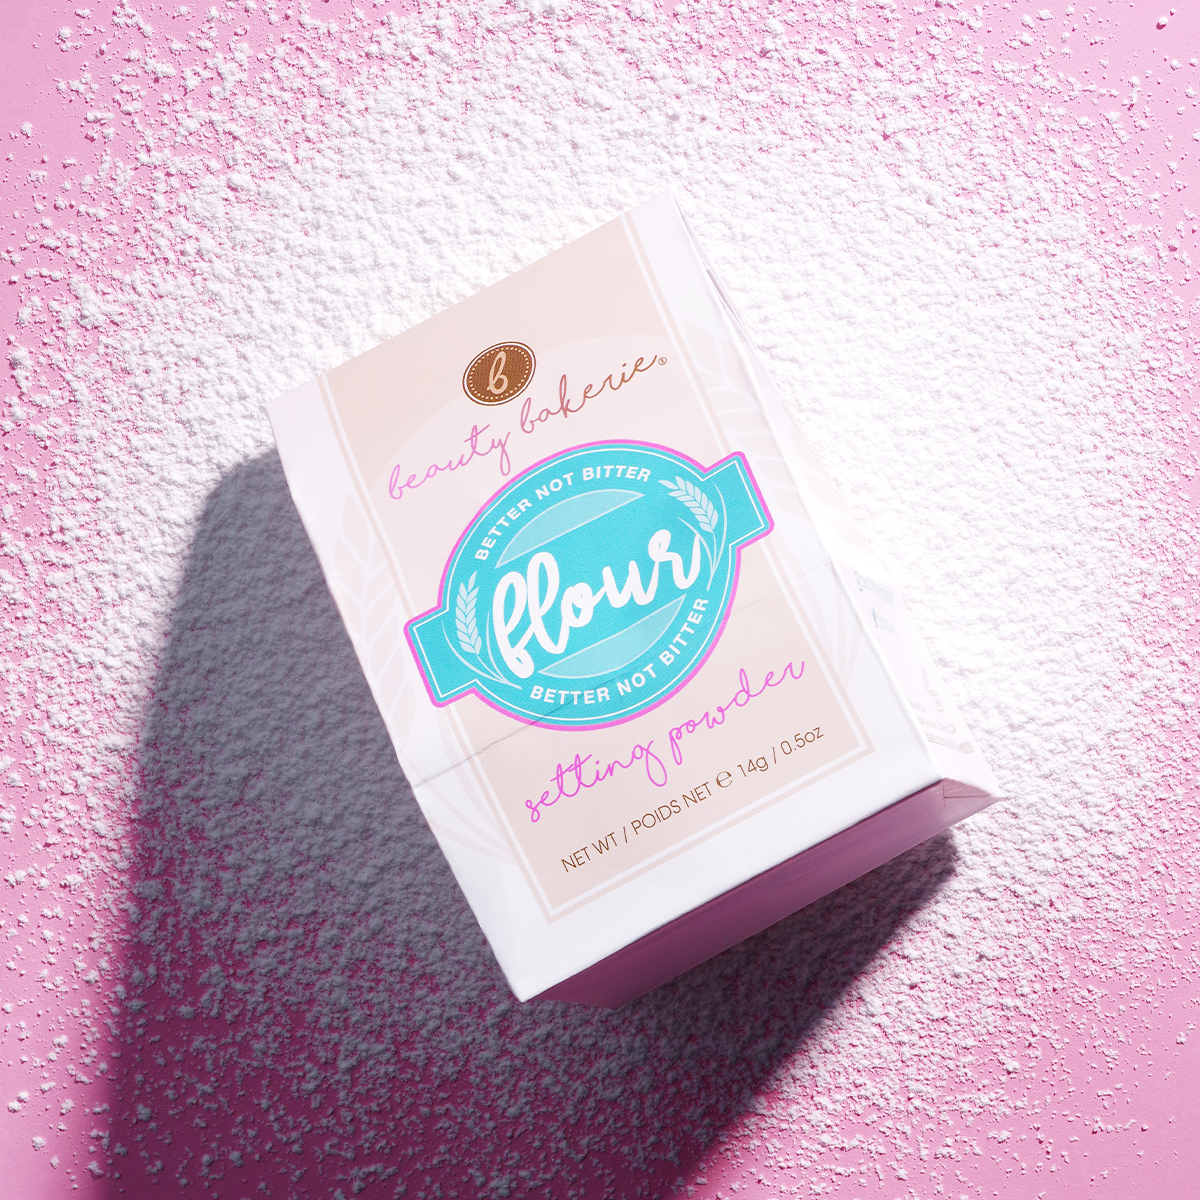
- Step 4: Dry skin doesn’t always need the mattifying effect of a translucent setting powder, so go for one of our colored Flour Setting Powders to color correct and brighten your face. We love the Pink hue for a blush shade, and the Brown as a bronzer. Lightly dust with a fluffy brush.
- Step 5: For the final touch, sweep our Iced So Icy Illuminator on your cheekbones, brow bone, the ridge of your nose, and your cupid’s bow for all that glow.

For Normal Skin
Beauties with normal skin type have a lot of makeup and beauty options, but make sure you have a balance of moisturizing and mattifying to keep your skin happy!
- Step 1: After washing your face, skip a standard moisturizer and instead massage one to three drops of our Wake & Bake Hydrating Face Oil onto your face. Hydrate, protect, and nourish your skin while getting your glow on. Wait a few minutes for the oil to absorb into your skin before applying foundation.
- Step 2: Once the oil has absorbed in your skin, you’re ready for foundation and concealer. For lighter makeup days, just use Cake Face Concealer to spot correct redness, blemishes, or dark circles. Avoid using concealer on dry spots and use a lighter hand for oily areas.
- Step 3: Apply foundation, blending with a beauty sponge. If your face needs extra brightness, apply Cake Face Concealer a few shades lighter than your skin tone in an inverse triangle under your eyes and blend.
- Step 4: Use our Flour Setting Powder in Translucent (or choose Yellow or Pink for additional color-correcting) on your t-zone, pressing onto skin with a beauty sponge or brush. Lightly dust off with a fluffy brush.
- Step 5: For the final touch, sweep our So Icy Illuminator on your cheekbones, brow bone, the ridge of your nose, and your cupid’s bow for an ethereal glow.
- Step 6: For any dry spots, gently pat in a drop of the Wake & Bake Oil for extra hydration.

For Oily/Combination Skin
If you have oily skin, the key is moisturizing your skin without making it look oilier. But whatever you do, don’t avoid moisture, since it can actually make your skin produce more oil. Instead, moisturize and then mattify, and repeat!
- Step 1: After washing your face, skip a regular moisturizer and instead massage one drop of our Wake & Bake Hydrating Face Oil onto your face. Wait a few minutes for the oil to absorb into your skin before applying foundation.
- Step 2: If you’re going for a true matte look, apply a mattifying primer on your t-zone by gently patting it in with your fingers.
- Step 3: Next, apply Cake Face Concealer. Remember to avoid using your fingers for moisturizing products, since the oils from your hand can make your skin oilier. Use the concealer under your eyes and on blemishes, and apply a lighter layer on your chin and forehead to reduce any redness. Blend with a beauty sponge.
- Step 4: Apply foundation, blending with a foundation brush or beauty sponge. Then use the concealer to brighten or spot correct any areas your foundation didn’t cover.
- Step 5: Now it’s time to bake! Heavily dust our Flour Setting Powder on your face and let it sit for up to 10 minutes letting your foundation and concealer absorb before dusting it off for a poreless, satin-smooth look. Don’t be afraid to go in for a second (or third!) serving of setting powder. For more info on baking with Flour Setting Powder, click here!
-
Step 6:Next, sweep our So Icy Illuminator on your cheekbones, brow bone, the ridge of your nose, and your cupid’s bow for your daily glow.

2 comments
Beauty Bakerie Cake Team
Hey Lauren! We recommend working one section at a time, and building that section to desired coverage before moving on to another part of the face. Once this foundation dries down it stays put all day, so it helps to work section by section!
Lauren Padilla
I was wondering, the foundation says it is medium to full coverage, but adding more layers to the foundation only causes is to bunch up or even pick up product once its put down. Is there anyway to avoid that?
Leave a comment
All comments are moderated before being published.
This site is protected by hCaptcha and the hCaptcha Privacy Policy and Terms of Service apply.